Detailed Guide and Steps on How to Make a Charcuterie Board
What we Discuss
1. How to choose your a piece of wood
2. Different styles of board to choose from
3. Important Sanding tips
4. What Finish to choose

Shop for all of these wood species and more HERE
1. Choosing Wood
Important notes to consider:
What will the purpose of the board and what will it be primarily used for? If it's used for chopping and preparing food we suggest a butcher block style. If it is for presenting food then we suggest a Charcuterie board.
Here is some key information about the most popular species on the market that people tend to choose:
Olive Wood: Unique and beautiful exotic species. This dense hardwood has a 'cross style' grain. It is common to have cracks in the board that you should fill with resin to keep the wood from opening further.
Ash / Maple: A good hardwood choice, but consider what foods will be on the board and if it will stain these two lighter species.
Walnut: Great hardwood with straight grain - One of the most popular options in the market. Its dark colour will hide potential food stains.
Cherry: Beautiful medium tone hardwood that will give you a smooth grain finish.
Cedar: This species is a softer wood so will show knife marks. The rich colour will be a unique option. We only suggest using a soft cheese knife on this species.

Purchase Pre-made Boards like these HERE
2. Different Styles to choose from
Click the following style to read a guide on how to make each style of board:
- Charcuterie Board with Handle
- Wood Charcuterie with Inlay Detail
- All wood Charcuterie Board
- Epoxy River Charcuterie Board
Read more Tips and Tricks on Sanding HERE
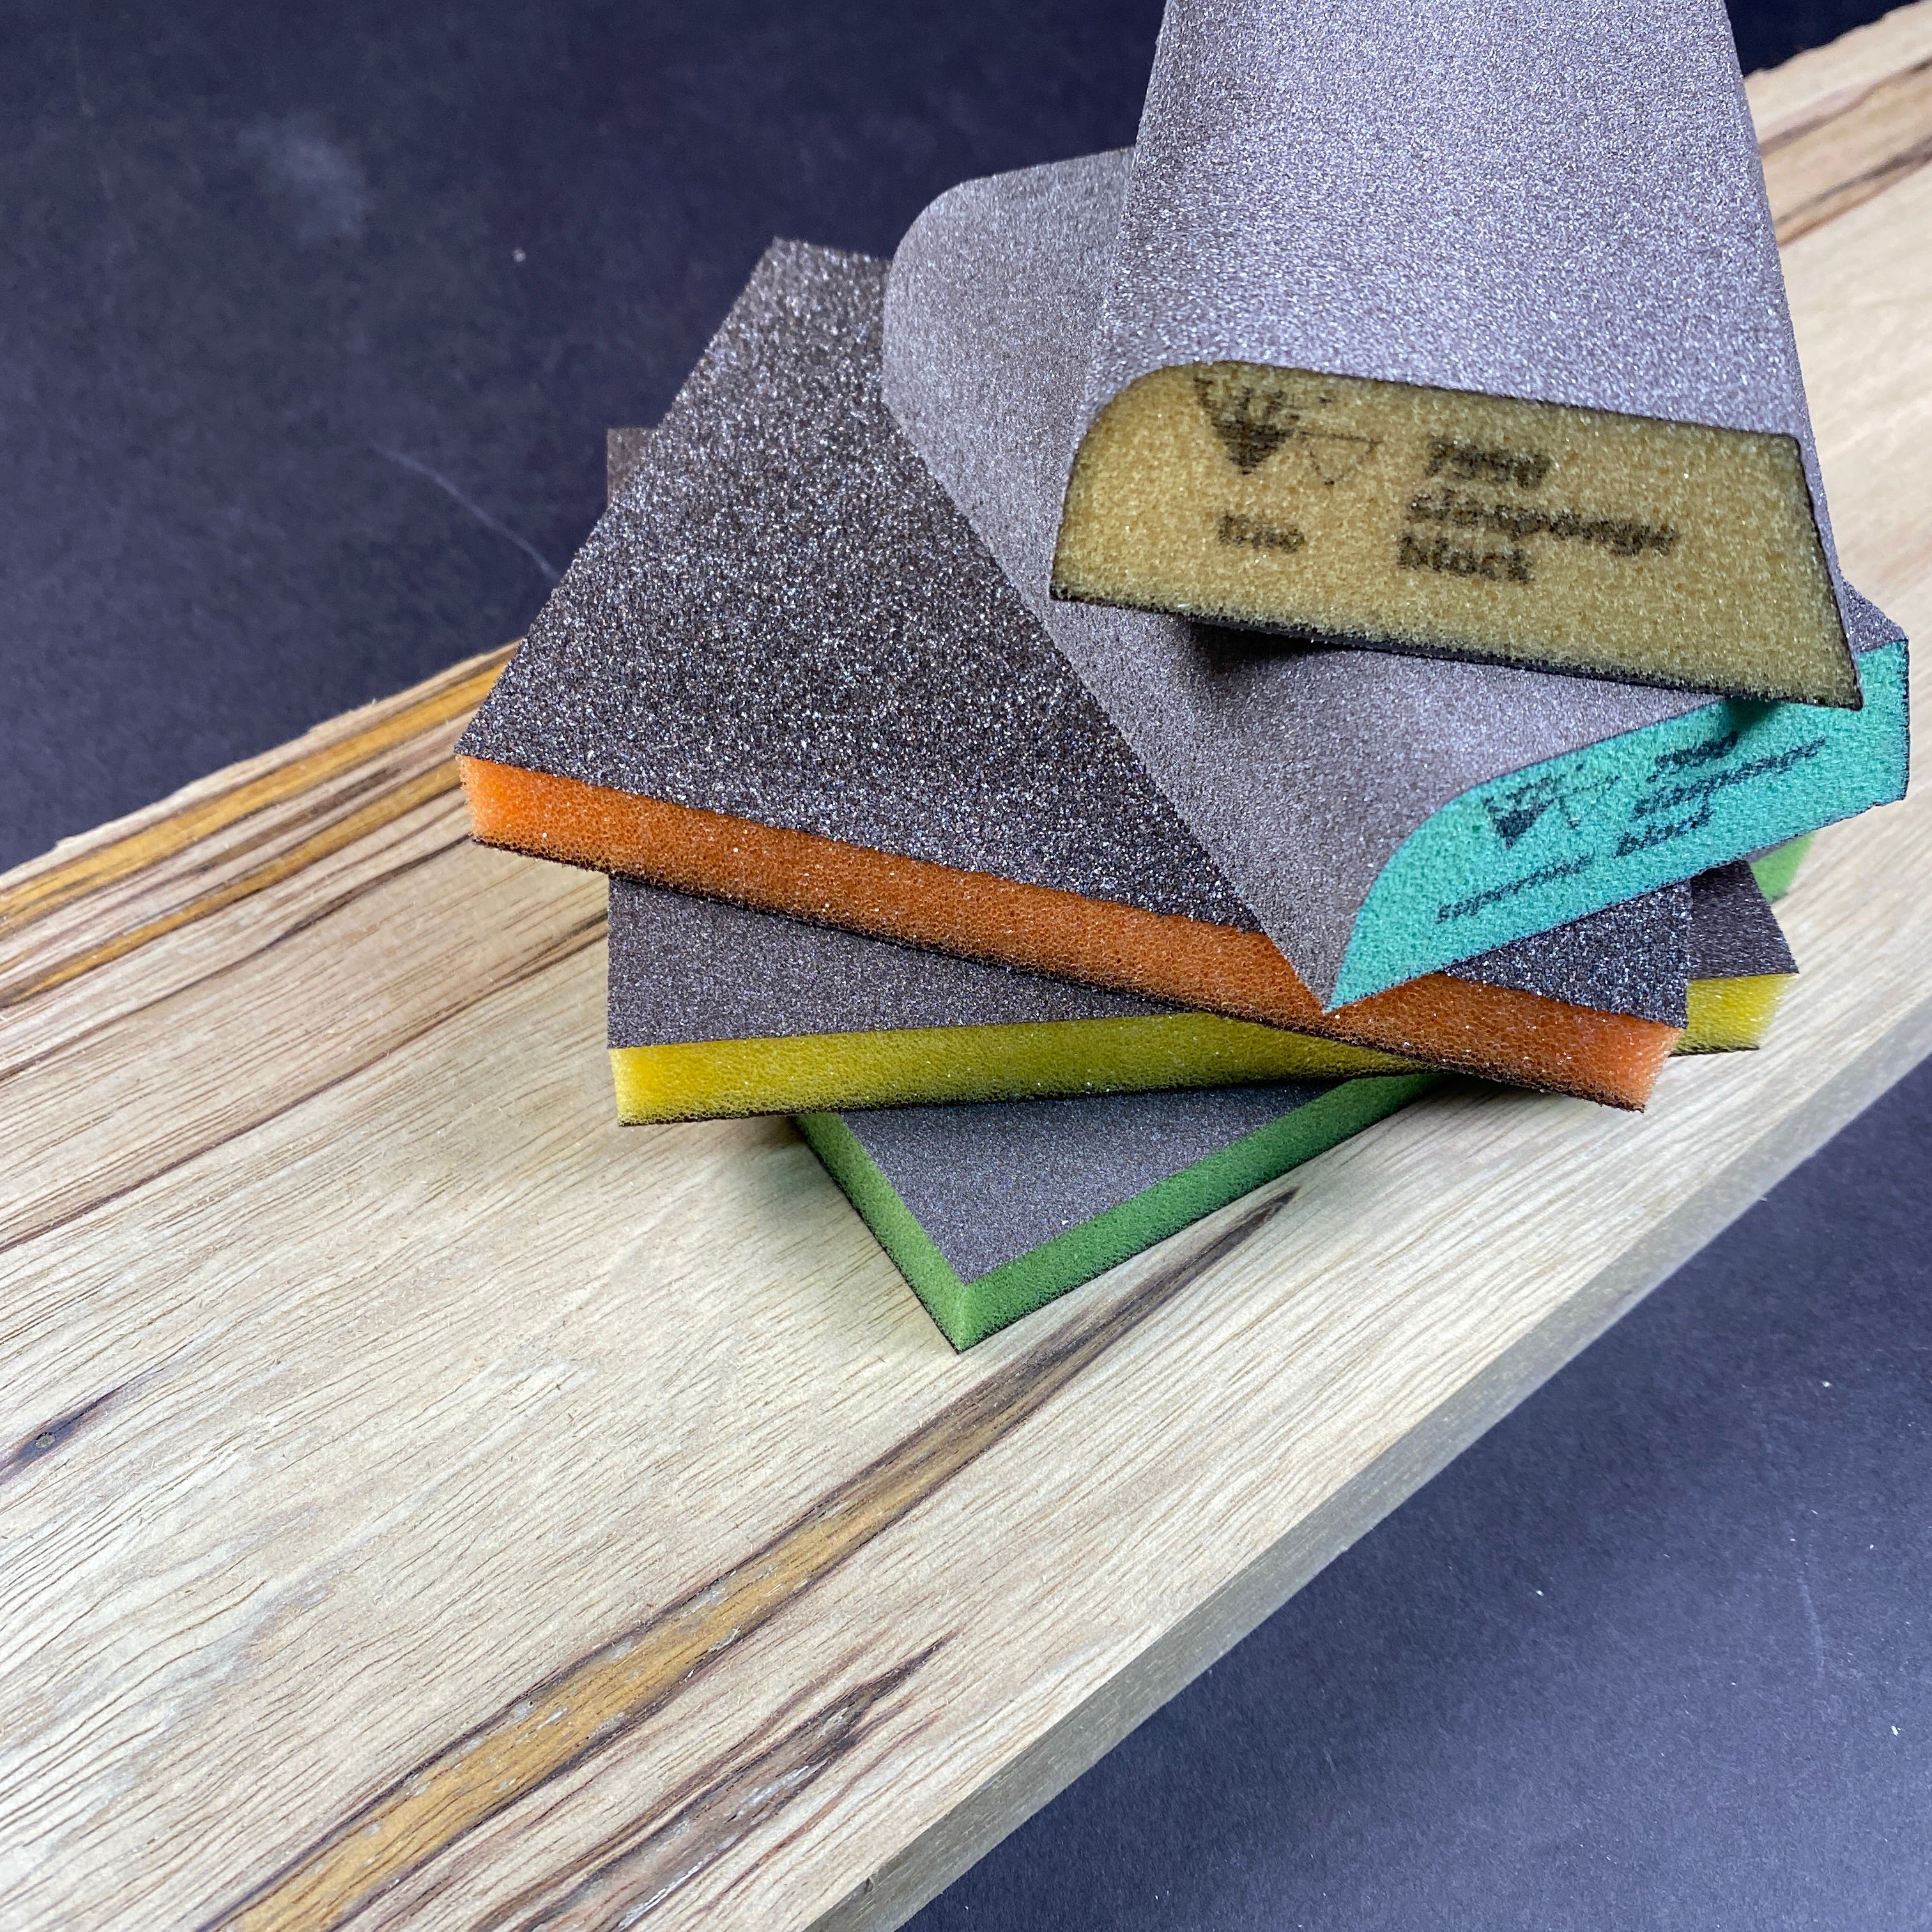
3. Important Sanding Tips
Before you even begin the sanding process we recommend you choose what type of finish you would like to put on your board.
Use either an orbital sander / Router for edge detail or sanding blocks. Make sure to keep you sanding disc flat to avoid 'pig tail' marks.
Key Points:
- Make sure to wipe off the dust from your project surface between each grit.
- Different finishes require different ranges of final sanding grits. Make sure to read the label carefully before you begin.
- If there is any resin detail, tinted wood finishes may stain the epoxy area.
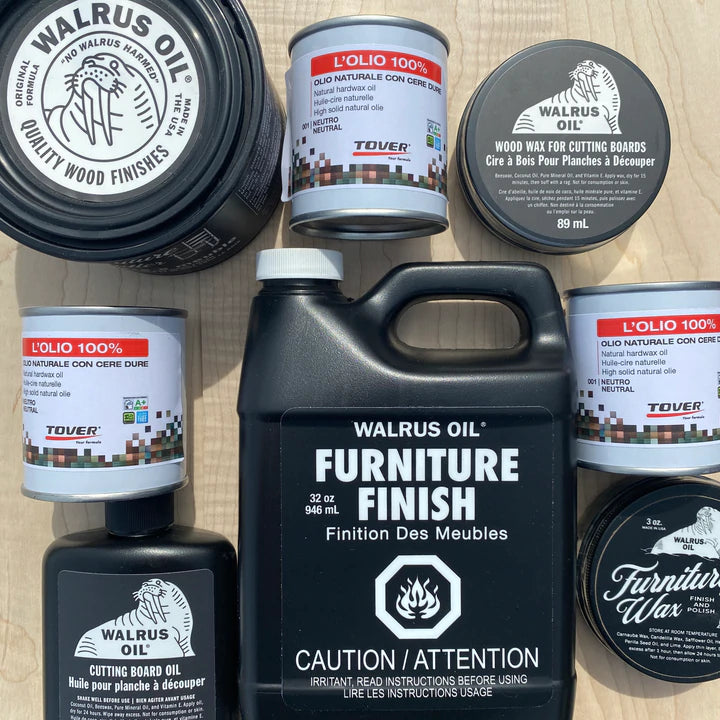
We Recommend these Rubio Monocoat, Walrus Oil and Tover
4. What Finish to Choose
Choosing a reputable Oil finish brand can help you create a low maintenance charcuterie board.
NEVER put your wood board in the dishwasher. We recommend using this Cutting Board Soap to keep your Charcuterie Board clean.
It is important to choose a finish that is Food Safe. If an Oil has an 'accelerator' that comes with it, make sure the oil has fully cured before placing food on it.
Make sure to dispose your oil soaked rags safely as they can be combustible. Once finished oiling, wet your rags with water then lay them out to dry (on a surface that won't be damaged by oil aka unprotected stone or wood) before throwing them in the garbage.
Read more about why we love oil finishes here


